ustom WordPress Page With Elementor
Elementor comes with a drag-and-drop editor that makes it easy to build and customize pages in WordPress. You can create custom templates with widgets and use them across your website. You can also choose from premade Elementor templates and adjust them to your liking.
In this tutorial, we’ll show you how to build a basic WordPress page template with Elementor. You can use the free version of the builder to create a WordPress custom design and apply it across selected pages. However, Elementor Pro has more customization options and features.
Step 1: Design Your Template
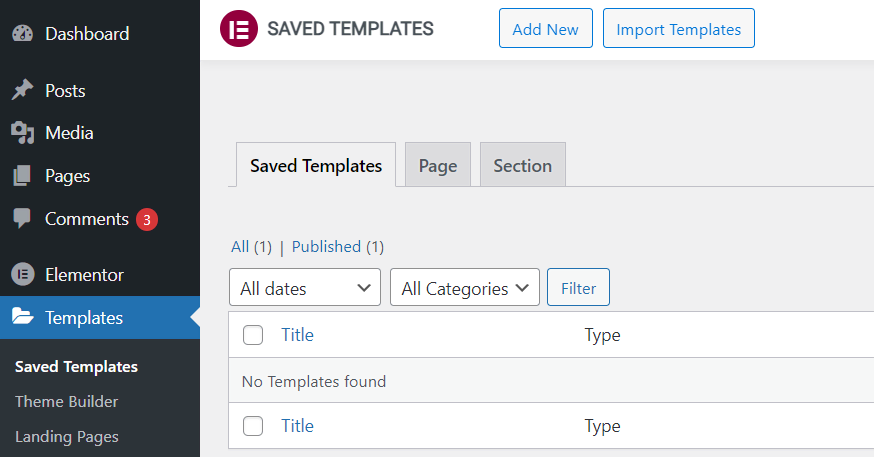
Once you’ve installed and activated Elementor on your website, navigate to Templates and click on Add New:
Elementor will then ask you to select what type of template you want to create and give it a name:
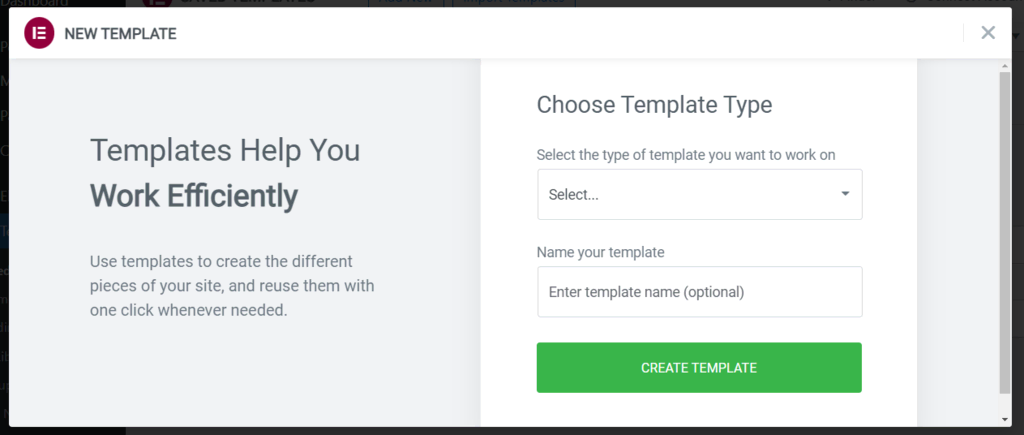
If you’re using the free version, you can choose from Page, Section, or Landing Page. To create WordPress custom post templates, you’ll need to upgrade to Elementor Pro.
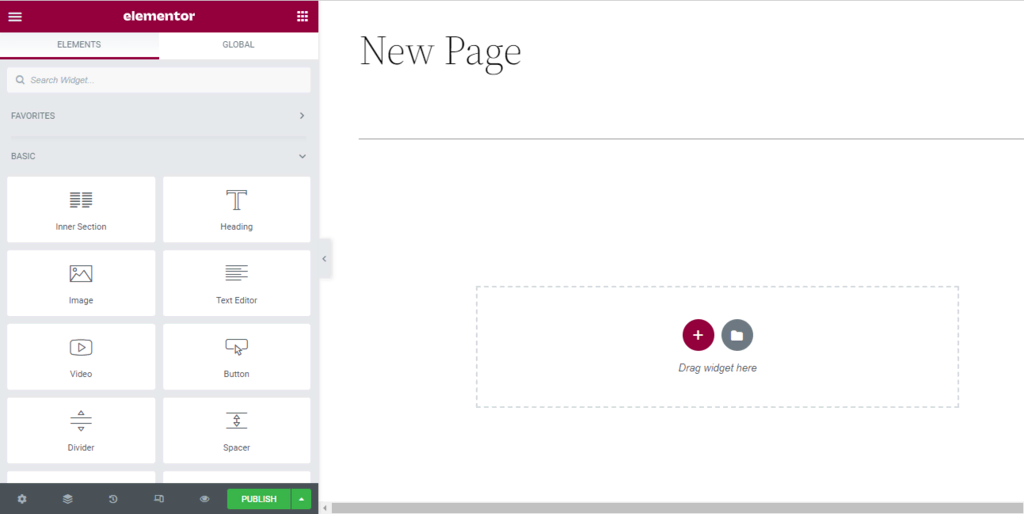
When you’re ready, click on Create Template. This will launch the Elementor editor:

You’ll find a selection of elements that you can drag and drop onto your page on the left-hand side. However, before you start, you might want to change the page layout of your template.
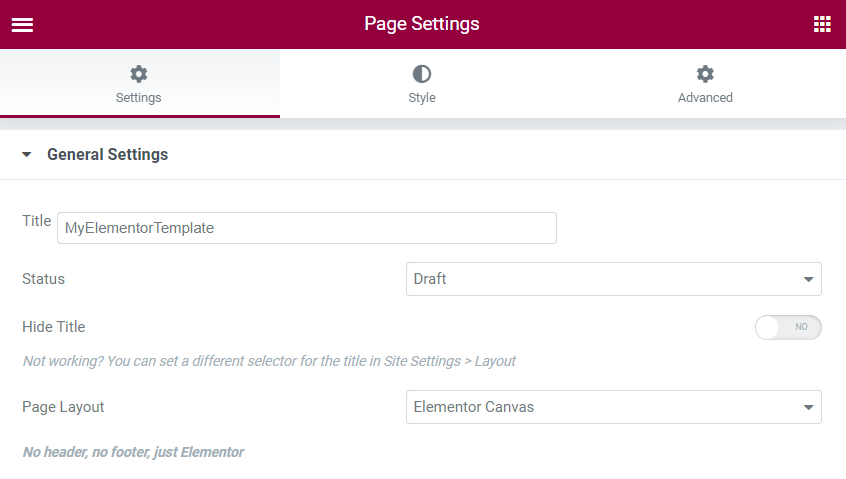
Click on the Settings icon in the bottom left-hand corner:
![]()
You can then choose your page layout from the provided list. For instance, if you select Elementor Canvas, you’ll get a completely blank page:
Once you choose your page layout, you can start adding elements to your page. Alternatively, you could use an existing template as your base.
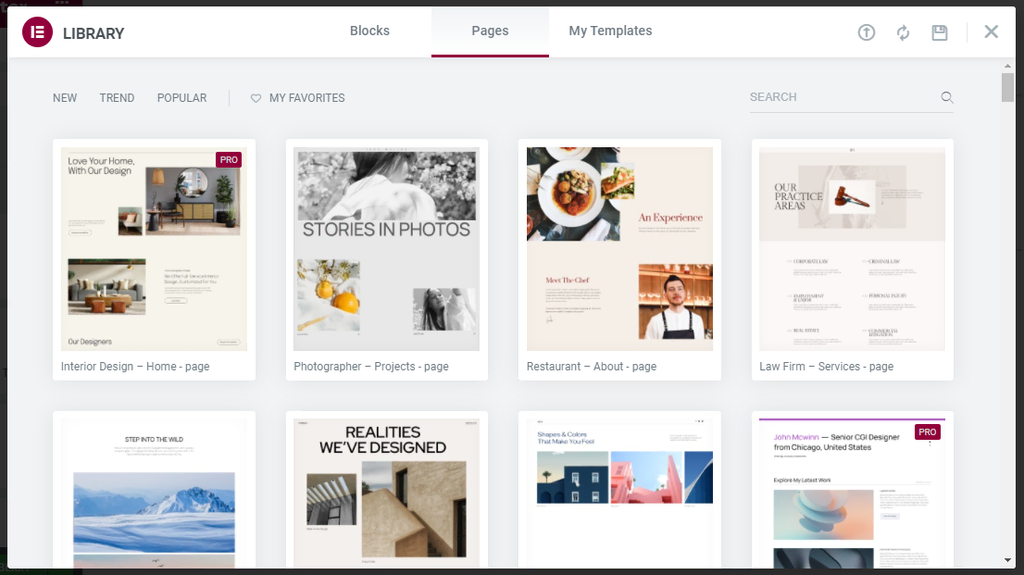
To access these Elementor templates, you just need to click on the folder icon:
![]()
You can then select a block or a complete page:
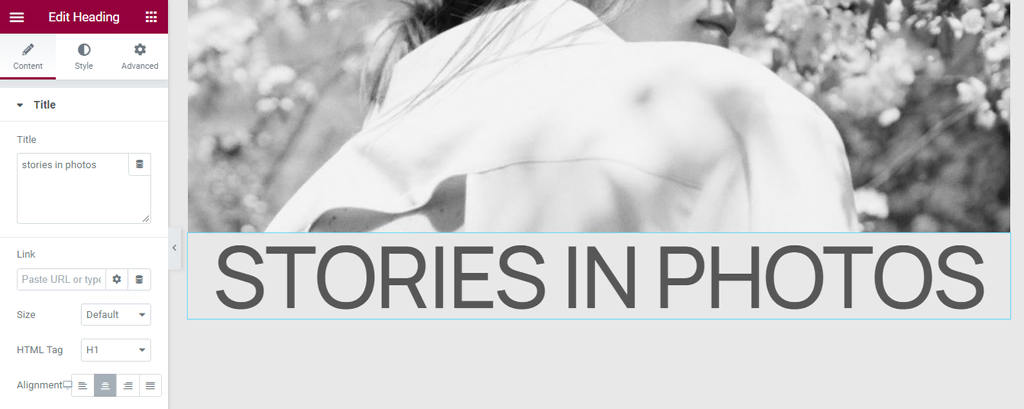
You can then select any element on your page to configure its settings:
When you’re ready, click on the arrow next to the Publish button, and select Save as Template:
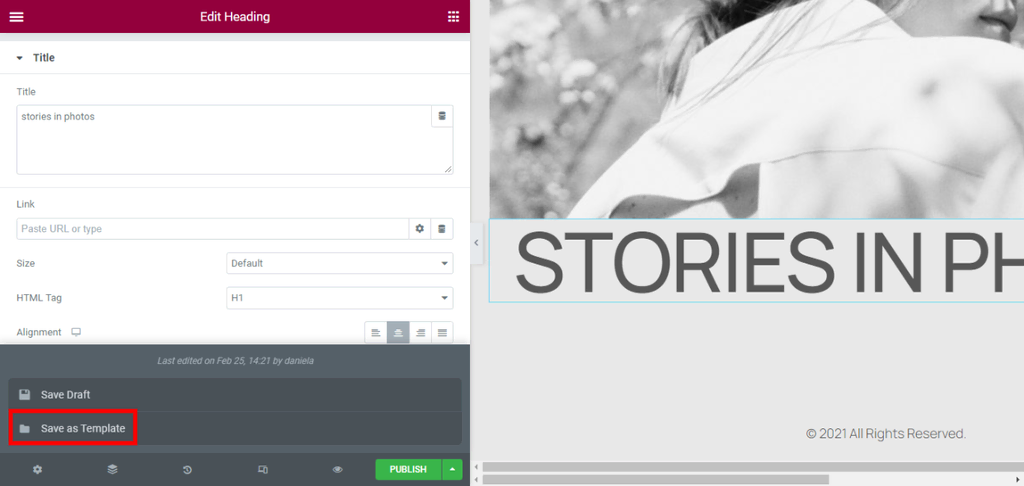
Elementor will then ask you to enter a name for your template. This layout will then be saved to your template library.
Step 2: Apply the Template to Your Pages
Once you’ve created and saved your template, you can use it on any page designed in Elementor.
To start, click on Pages → Add New, then select the Edit with Elementor button:
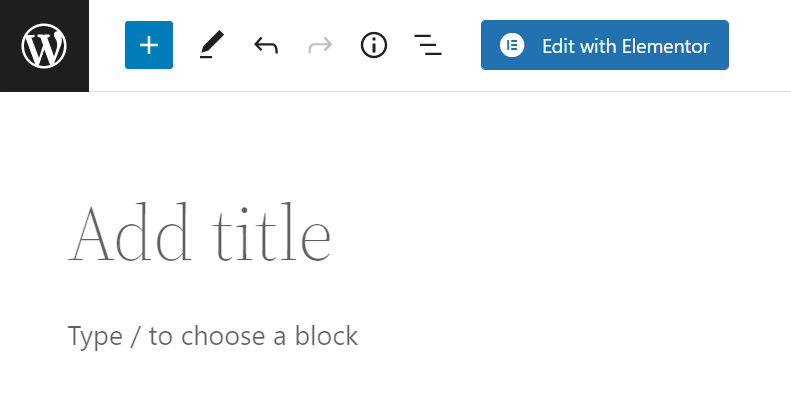
This will open your new page in the Elementor editor:
You can then click on the folder icon to open the template library (as shown earlier) and look for your template under My Templates. Then, simply insert your template into the page, and customize it as you see fit.
Note that if you use Elementor Pro, you’ll also get access to the Theme Builder:
Leave a Reply